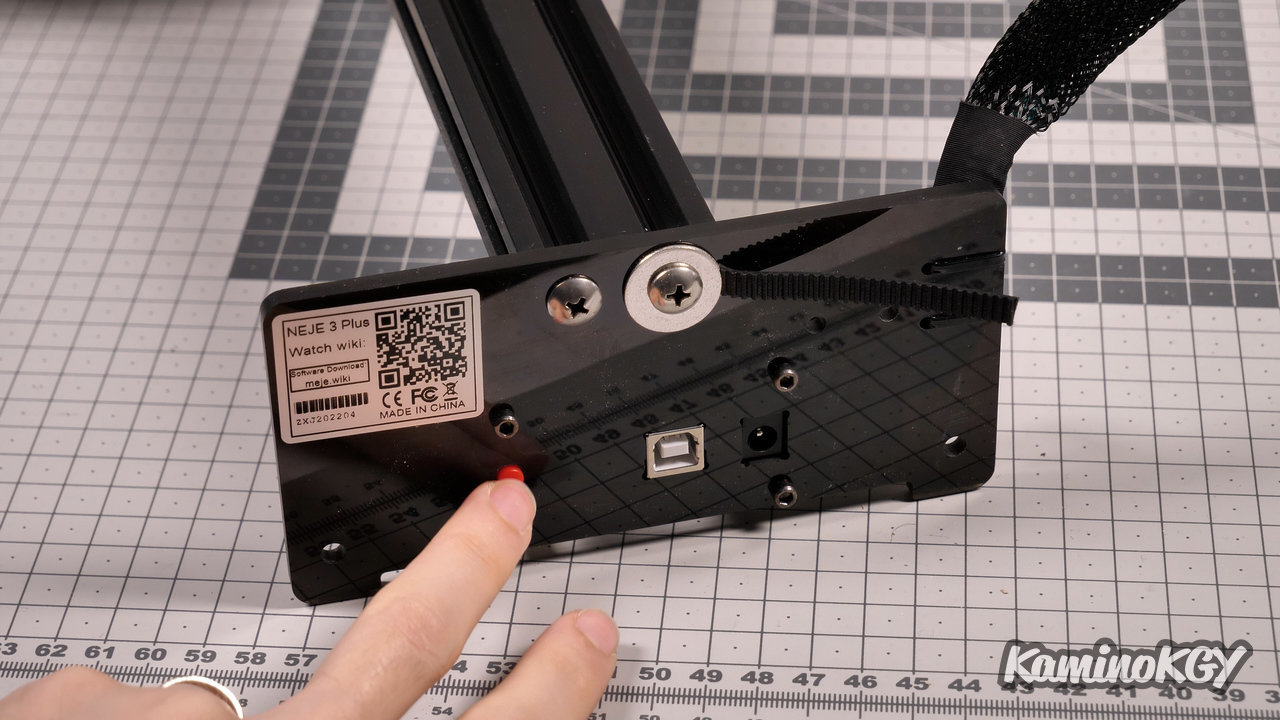
Today we are going to test the 3 Plus A40640 laser engraver from Neje. And I have to tell you right away that when I barely plugged in the machine. I started by saying, “What the fuck!”. A laser that turns on as soon as you have just plugged it in is not reassuring. And the laser remains on until you have connected the laser to the PC, started LaserGRBL, click on connect the machine and made a first movement, whatever it is a priori.
Especially when I installed the machine, I was not yet wearing my glasses, I was a thousand miles from thinking that it was going to start like this. Fortunately, the machine was placed with the laser pointing downwards. This will serve as a lesson for me for the next few times. Certainly the power seems relatively low, but that's not a reason.
But we will see later, my hypothesis on "why" it is like that. And that's not a good reason.
Unboxing
In the box, there is a small documentation, a bag of screws, tools and some test items. We have the laser module, the power supply with the cable. We have the machine Y-post, goggles and the X-axis arm.
Assembly

Concerning the assembly, the first good news is that the machine is already almost completely assembled. We will install the X axis arm on the main upright using 4 nuts. The laser module is installed on the cart. Finally, you can use the screws provided to fix the machine on a support.
Features
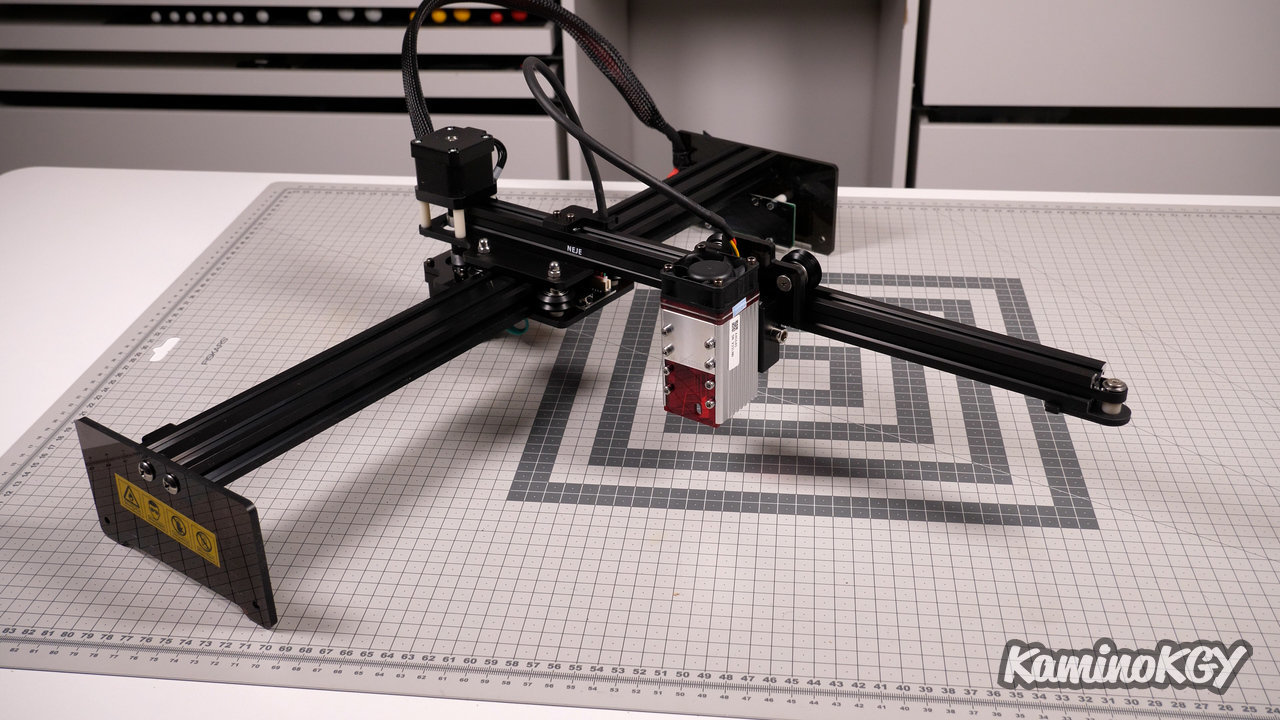
Regarding the characteristics, we have a work surface of 255 by 420 mm. The laser module has an optical power of 11 W. We have a 32-bit motherboard.
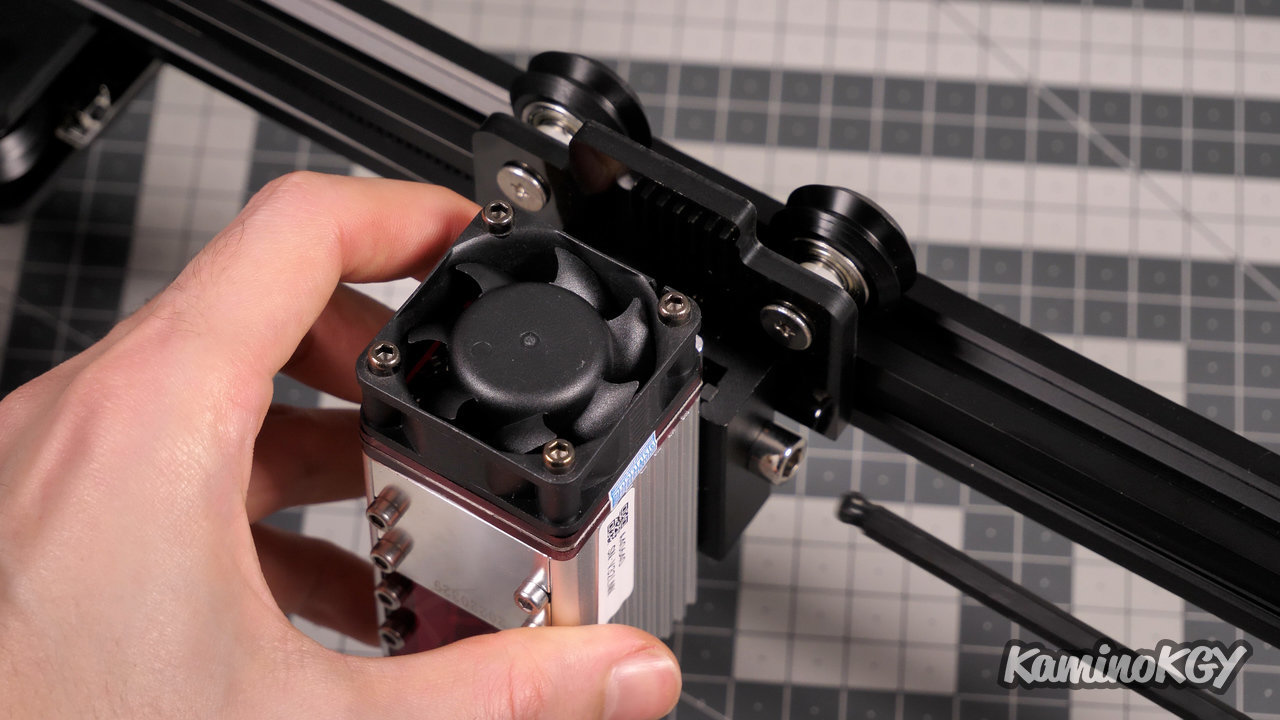
So before using laser engraving or cutting, you must first adjust the focus of the laser to get the most out of it and have good precision, too close to the support and the point of the laser is blurred, too far it's the same. There is a happy medium to be found, the focal point to have something specific. What is good is that on all the machines that we have tested so far, there is a wedge where the laser is raised and lowered to simply adjust the distance, the focus being made in relation to that.
I think you see me coming now. There, you will have to adjust the focus by hand by looking at the point that comes out of the laser. And this is where we may understand a little more why the laser is on at the start. But we could very well turn it on ourselves on LaserGRBL which has a special button to do it if you add them.
I will spare you the details of the process, but from what I have read you would have to screw or unscrew the lens inside the laser, then turn on the laser and find the right height. And since there is no shim, you will either have to make one yourself or estimate the sharpness of the point with the naked eye. Otherwise, you would have to draw lines and look under the most precise microscope.
Knowing me, you can imagine that I was not super hot to do all that. So I just loosely set the height between 2 blurry points of the laser. And when you want to use the machine, you will have to keep a key next to it, because otherwise you won't be able to focus. It's a detail, but I think it's quite a shame.
Test prints
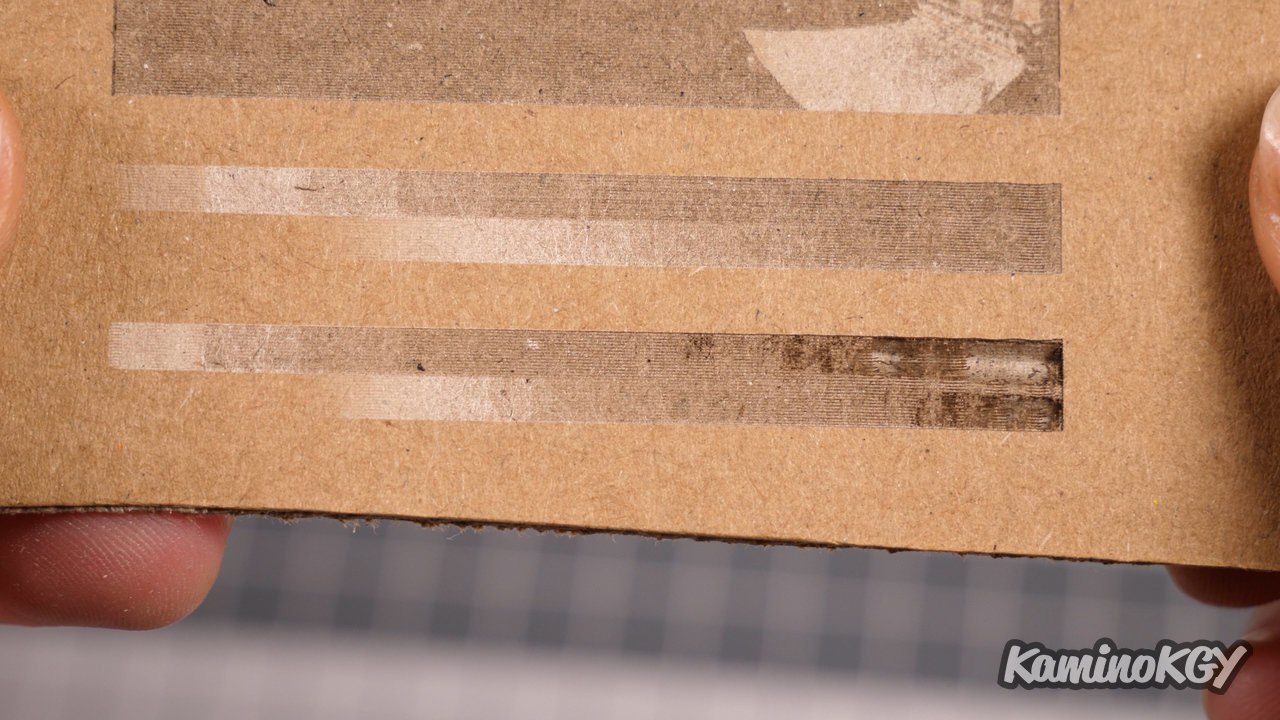
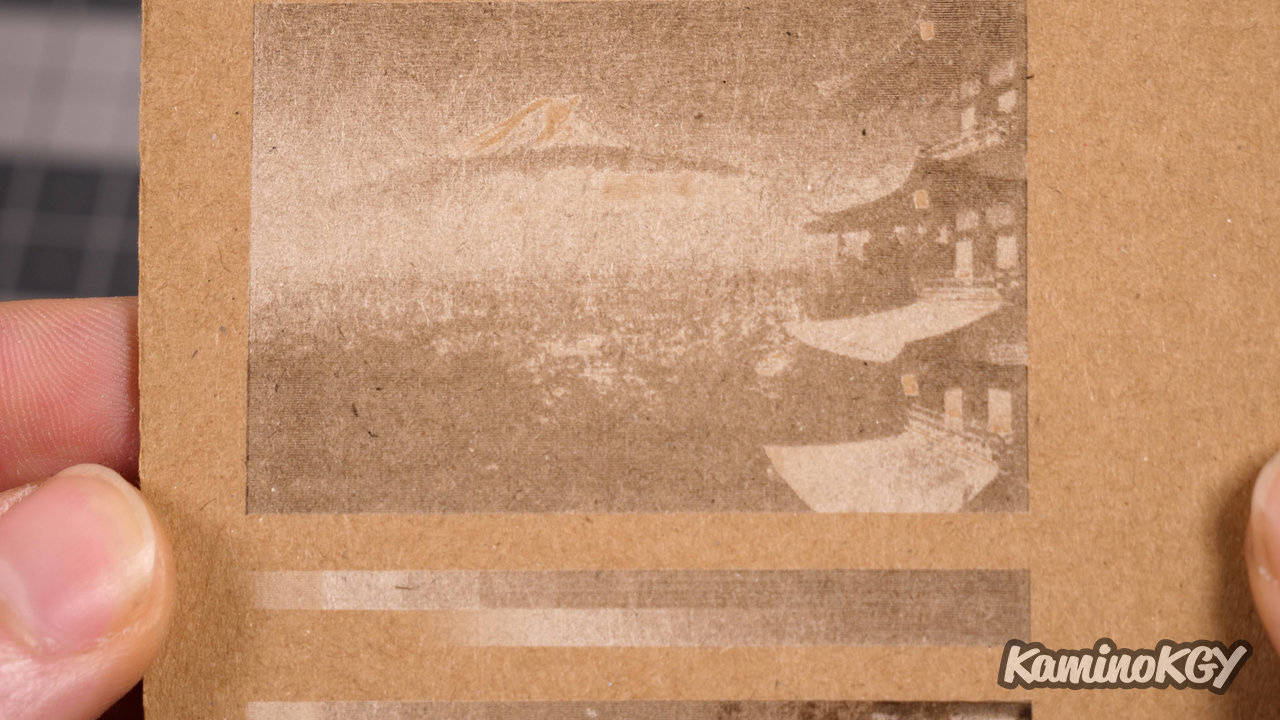
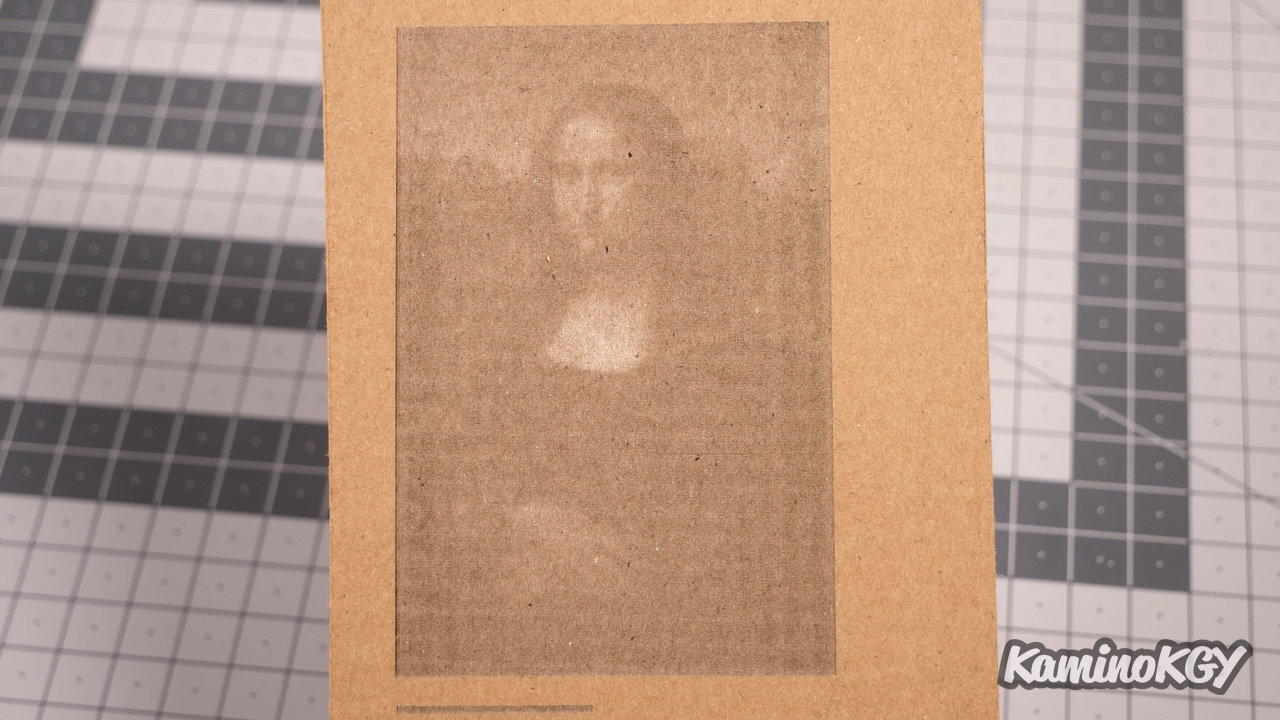
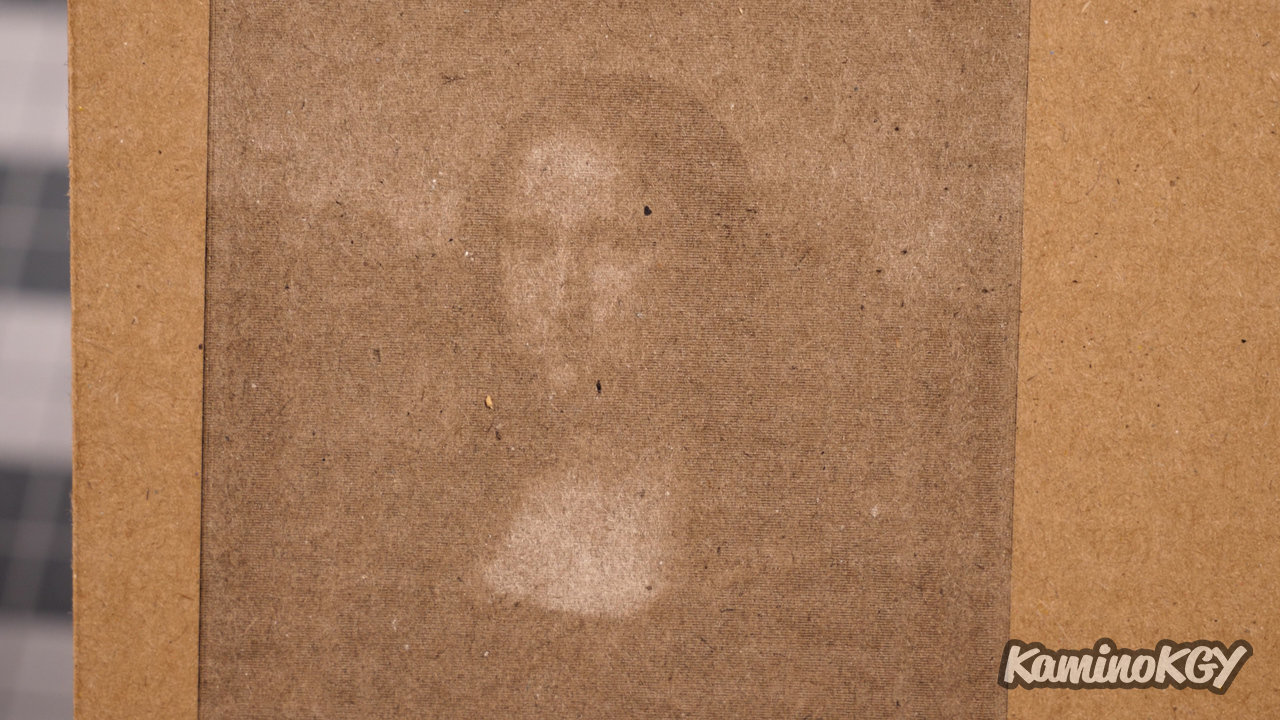
If we now look at a number of test engravings and cutouts, starting with cardboard. We can see that the first gradient is engraved a little too strongly, the second is cleaner and I kept these parameters for the rest, because darker means burnt cii, which is not what I am looking for no more. The engraving of the M Fuji and Mona Lisa are relatively faint to bring out detail and contrast in dark colors, but the engraving is precise.
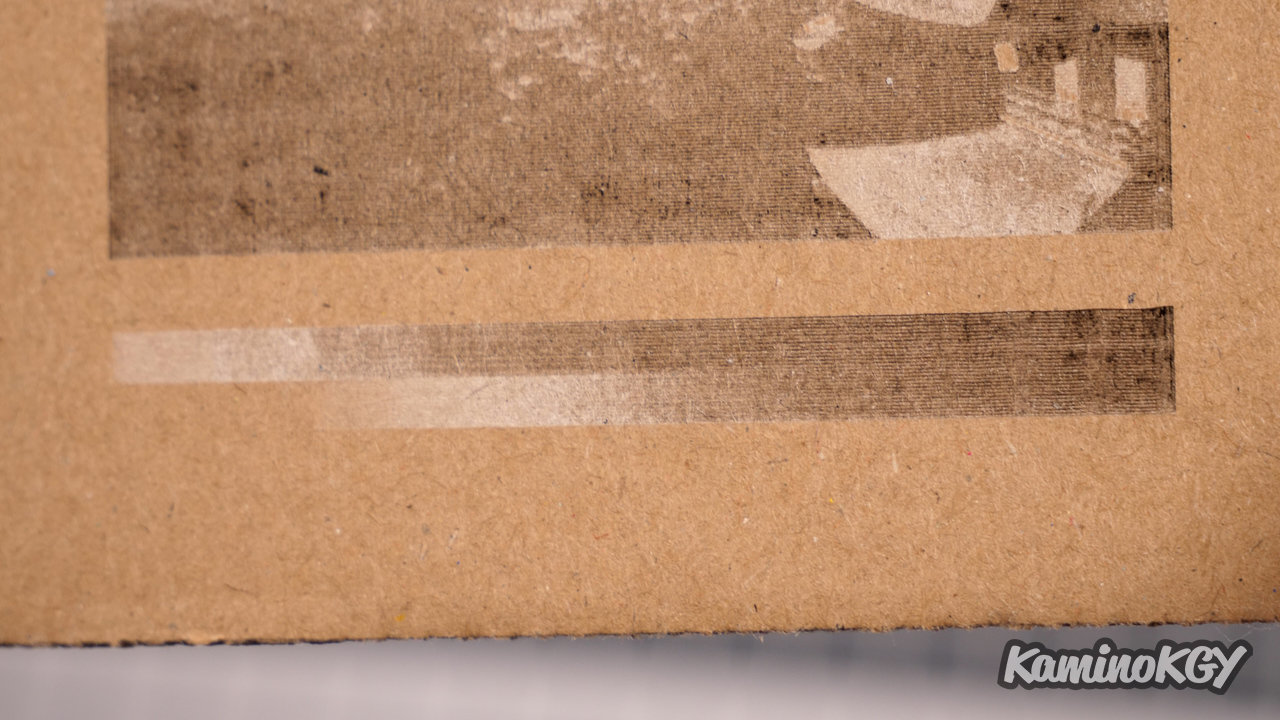
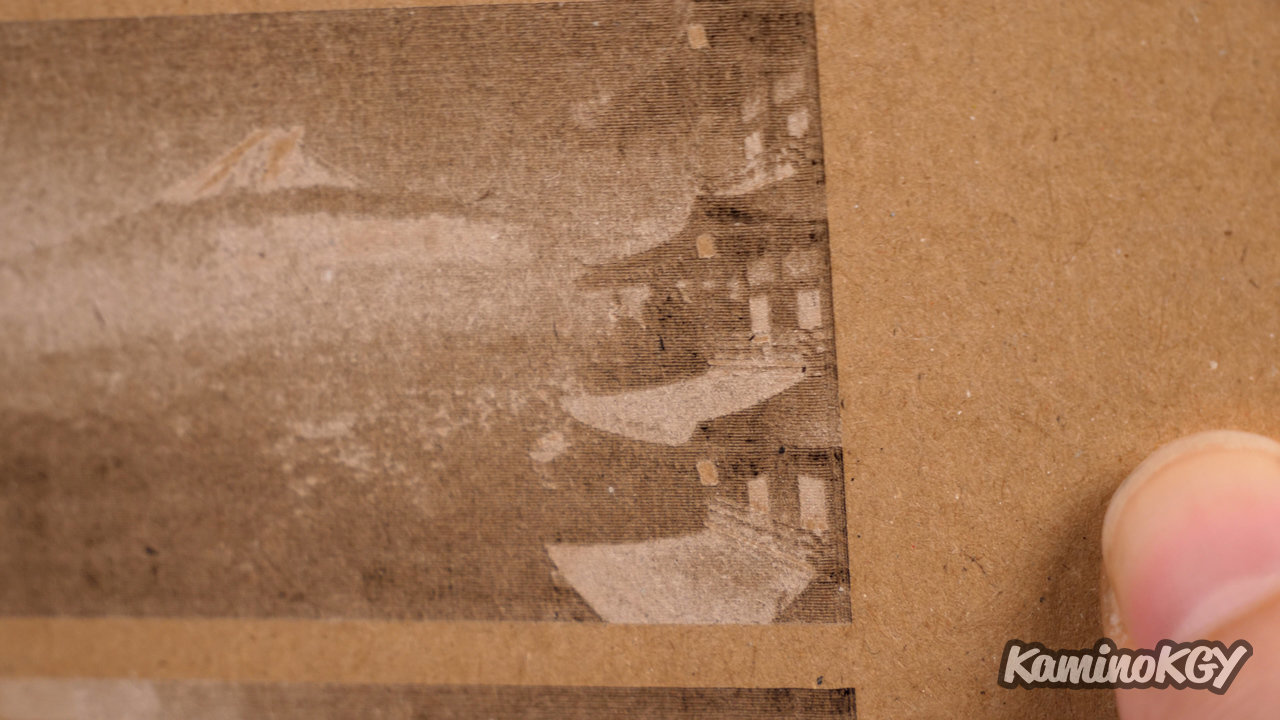
On this second card, I tried to scratch a little on the power to get details, but we see that we immediately pass on burnt and holes. So it's not exactly what one would expect, the previous engravings are better on this point.
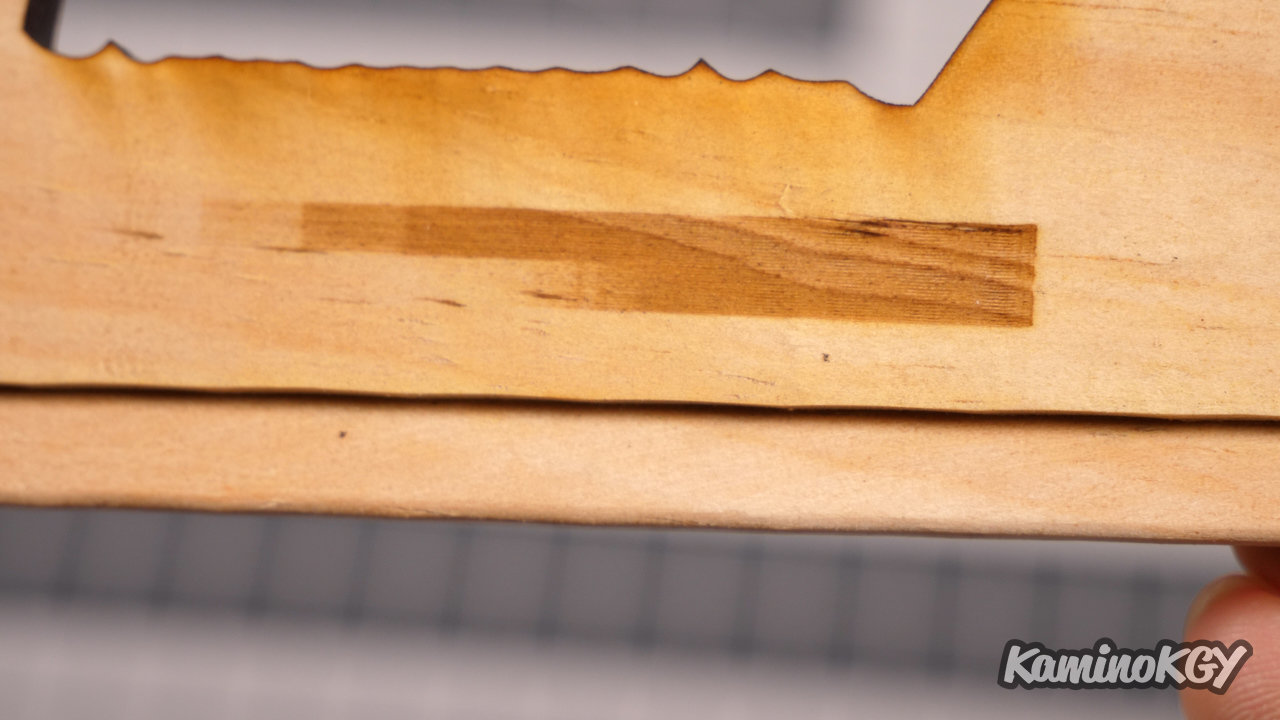
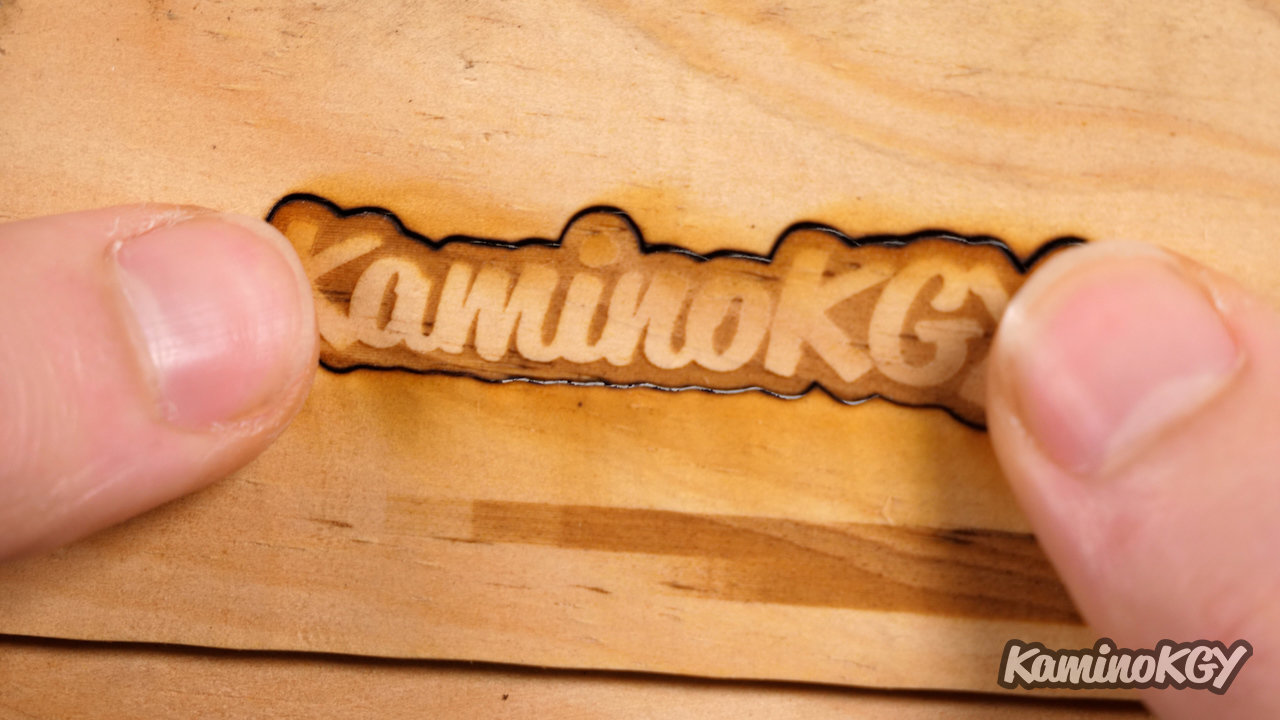
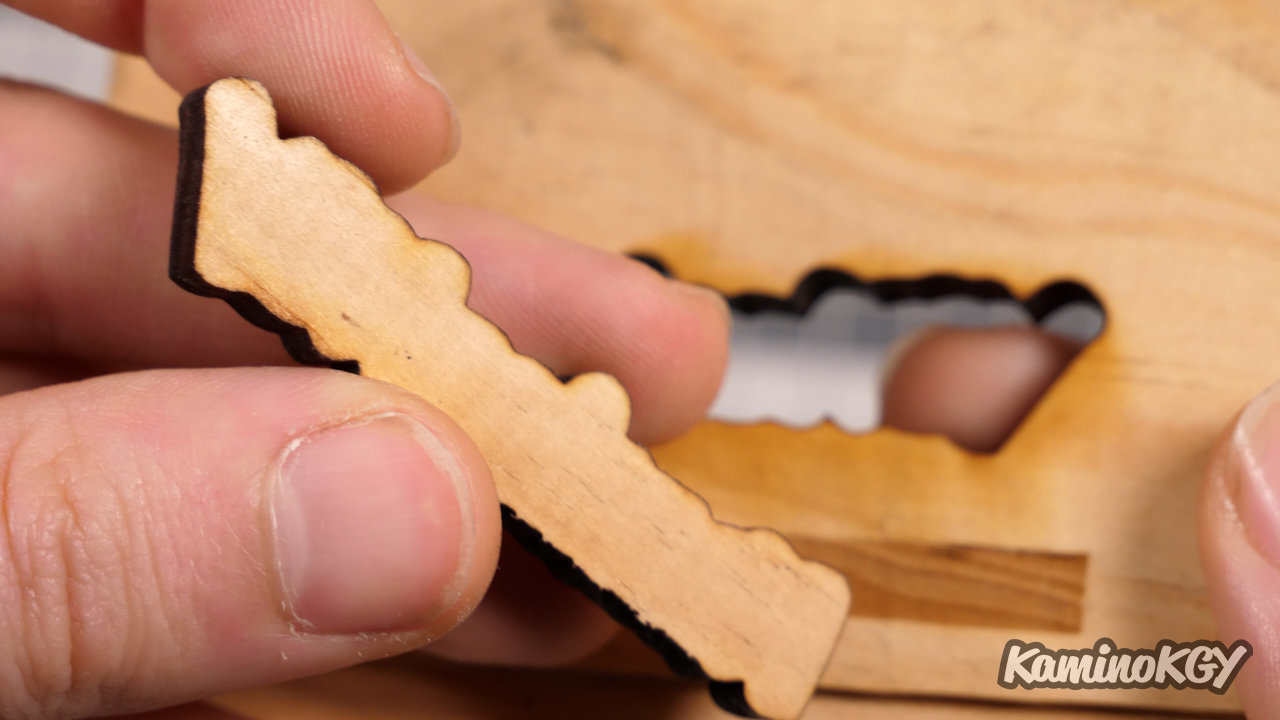
On this 7 mm thick piece of wood, the gradient is engraved with a little too much power, it could be divided almost by 2, to get the most out of the nuances between the lightest shades before arrive on quasi-monochrome. The engraving of the KaminoKGY is clean. It only takes 2 passes to get through and 3 to clear almost the entire room.
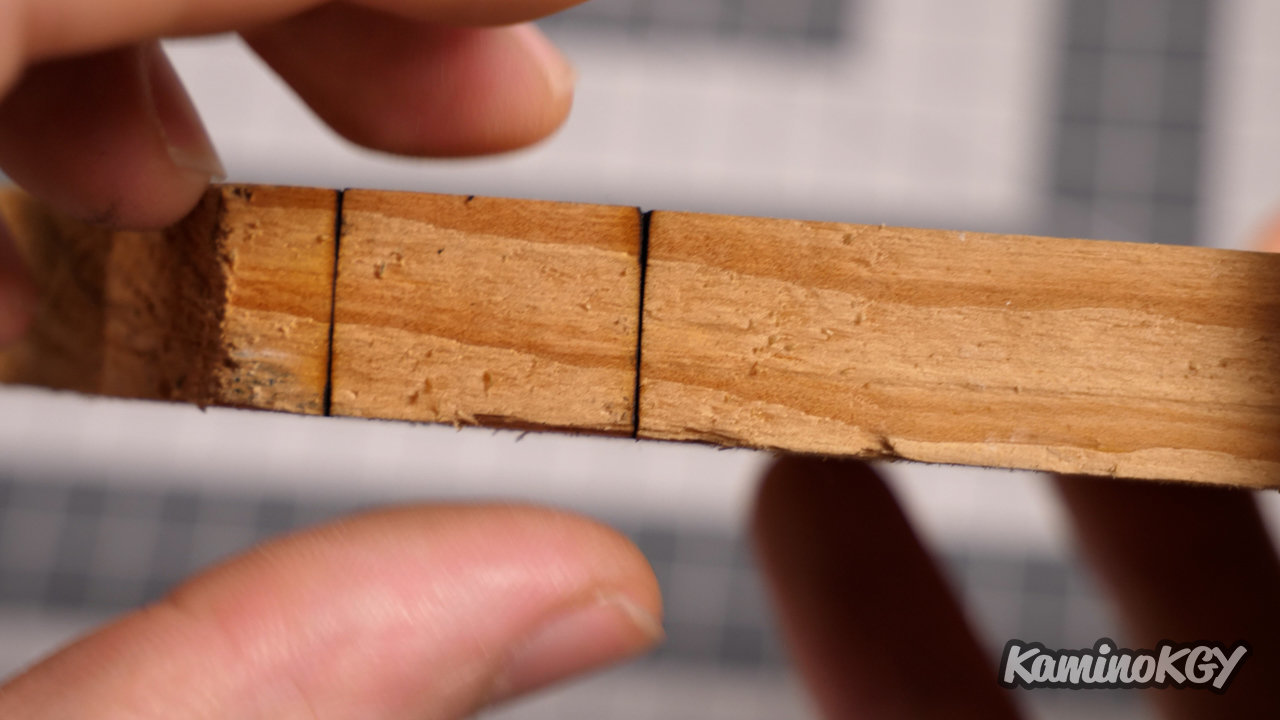
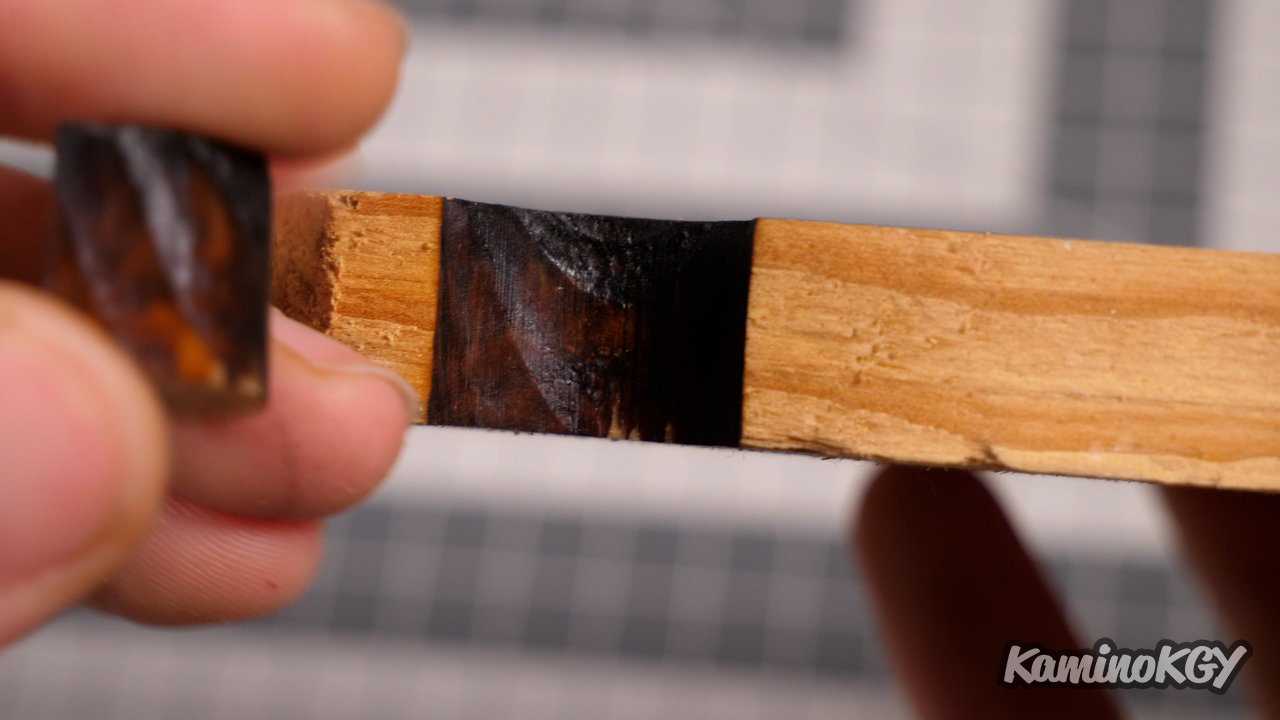
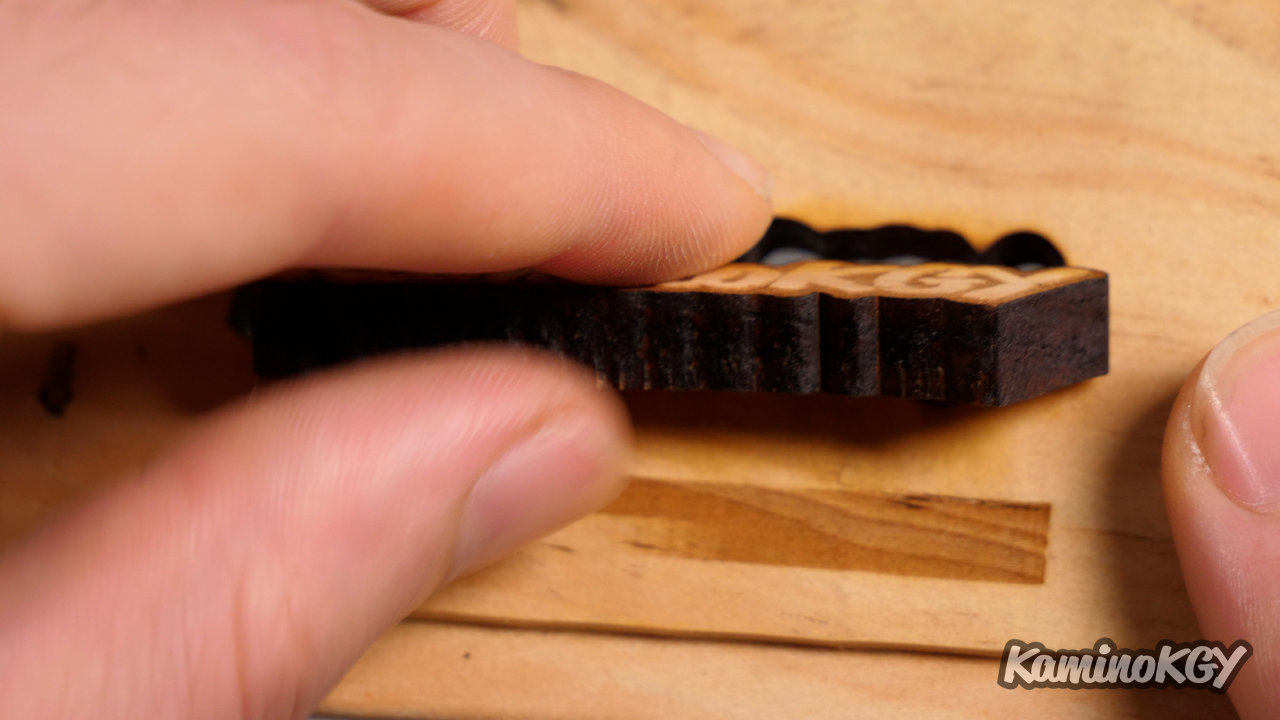
On this 15mm thick piece of wood, it will only take 4 passes to get through and a few more to free the piece as a whole.
Note that the laser module is quite noisy. It's the one that makes the most noise out of all the machines we've seen on the chain, and by far, but it's also the most powerful.
Review
The results of this test are really very mixed. On the one hand, we have an engraving quality that is really clean, when the focus adjustment is well done, and a very powerful cut. On the other hand, we have an ergonomics which is very frankly perfectible. And user security that is perhaps not taken too lightly, or relegated to the background. Especially because we have a laser beam that is far too exposed for my taste.
The advantage of this assembly is that you can cut thick materials more easily, by getting closer to them, when the other machines have covers to protect the user and limit the spread of smoke. Then the size is limited, so it's pretty good.
We must remember that we are not on industrial machines where users normally know more or less what they are doing, and the risks, with training. We are there on machines that still seem to me to be oriented towards the general public, where for many people learn on the job. Except that with this kind of laser engravers and cutters in the sense here and there I include all those that we tested on the chain, the error does not forgive and the effects very often irreversible and disabling if we speak of the eyes.
And in a professional setting, depending on the case of course, we would probably not already use this kind of open machine, without a box, extraction or air filtration. I can't tell you whether or not to go for it on this machine, which crosses a personal boundary.
Bye bye!